I had the pleasure last weekend to attend a Digital Days workshop here in Richmond, sponsored by Sony. If you've seen their advertisements for coming to your city, you don't want to miss out. The workshop covered a lot of beginner information for digital photography, but it also had a wealth of additional information for many that have been shooting for years. They also gave some cool tips for workign in Photoshop and Photoshop Elements. I picked up a lot of new information and had a great time on the second day when they offered two model shooting opportunities. Below are a few pictures from the weekend.
Lesson Learned:
There is always something else to be learned.
Unveiling,
Dee
This blog captures my journey to take a break from jewelry designing to learn something new. Join me as I learn the art of photography and Photoshop Elements and watch me create through my lens. ~ Dee
Saturday, August 18, 2012
Sunday, July 29, 2012
Straight Out of Camera Talk...
Yesterday I spent a small part of the morning with my photography group. The assignment was to shoot straight out of camera (ssoc), meaning....no view finder and no post processing. That's right, we went back to the basics of applying what we've learned about making manual adjustments to your camera settings, and not being able to adjust based on immediate feedback from the view finder. In a sense it was like shooting with film, and you didn't know what you had until you got home and downloaded to your computer! Basically, we were forced to think about what we were shooting before pressing the shutter button,and applying all the principles of photography we've learned!
You may be asking...well, why would you want to do that with all the technology available today on DSLR cameras? The best way that I know how to explain it, is to compare it to learning, math two ways. When learning math in elementary school, we were never allowed to use calculators. We were taught to learn multiplication and division to rote, and use paper, pencil and basic concepts to figure out harder problems. Later in High School, with the aid of calculators, I could do these simple tasks much easier and faster, but if the situation ever arose that I didn't have these aids available to me, I could always go back to basics to complete the task at hand.
To me, photography is similar in a backwards kind of way, in that it's important to learn the basics of exposure, aperture, lighting, composition and shutter speed; but, with programs like photoshop, lightroom and others, it's also very easy, to shoot in RAW all day, with the intention of fixing it and cropping it when you get home, if it's not exacly what you intended. So what's the problem you ask? Well, here comes "backwards"; If you don't know it yet, post processing can be very very time consuming, especially when you have a ton of photos to process! If you ever get into a photographing for business, the post processing time alone (if you don't focus on getting it right out of camera), can take longer than the photo shoot itself....chi ching, chi ching, chi ching goes your profit!
So, to make a long story short, its very important to know your camera and how to take great photos by applying the basics, it will ALWAYS come in handy for situations when the lighting is not in your favor or the situation is not what you expected, and it's also smart to try to get it right straight from the camera, so you don't have to spend hours doing post processing work, when you could be out taking more photos.
So, how did my morning go? Well, not bad, but I will be practicing more with this concept. I was only allowed to use one lense all morning and one Iso. I made the decision to use my kit lense (17-55mm) thinking it would give me enough range for the park scenery. What I didn't count on was the heat at 10am in the morning...it was scorching. Needless to say, I only stayed one hour and didn't get very far to explore more of the scenery available. My photos came out close on the lighting, but could have been better, but I love the richness of the greens. Below are three photos from the day, SOOC and after processing. The good news is that because I gave thought to my shots, the post processing only took literally 5 minutes to fix!
Lesson Learned: It's important not to forget the basics of all that you've learned about photography. You can save a lot of time by getting it right straight out of camera and avoid spending a lot of time in front of the computer afterwards. Unless time is of the essence, like during a wedding, shooting sports or animals, take the extra time before pressing that shutter button to crop in camera, think about your exposure and what it is you want the end result to be. You'll be a lot happier, a better photographer and able to spend that extra time doing what you love...taking more photos!
Unveiling SOOC,
Dee
You may be asking...well, why would you want to do that with all the technology available today on DSLR cameras? The best way that I know how to explain it, is to compare it to learning, math two ways. When learning math in elementary school, we were never allowed to use calculators. We were taught to learn multiplication and division to rote, and use paper, pencil and basic concepts to figure out harder problems. Later in High School, with the aid of calculators, I could do these simple tasks much easier and faster, but if the situation ever arose that I didn't have these aids available to me, I could always go back to basics to complete the task at hand.
To me, photography is similar in a backwards kind of way, in that it's important to learn the basics of exposure, aperture, lighting, composition and shutter speed; but, with programs like photoshop, lightroom and others, it's also very easy, to shoot in RAW all day, with the intention of fixing it and cropping it when you get home, if it's not exacly what you intended. So what's the problem you ask? Well, here comes "backwards"; If you don't know it yet, post processing can be very very time consuming, especially when you have a ton of photos to process! If you ever get into a photographing for business, the post processing time alone (if you don't focus on getting it right out of camera), can take longer than the photo shoot itself....chi ching, chi ching, chi ching goes your profit!
So, to make a long story short, its very important to know your camera and how to take great photos by applying the basics, it will ALWAYS come in handy for situations when the lighting is not in your favor or the situation is not what you expected, and it's also smart to try to get it right straight from the camera, so you don't have to spend hours doing post processing work, when you could be out taking more photos.
So, how did my morning go? Well, not bad, but I will be practicing more with this concept. I was only allowed to use one lense all morning and one Iso. I made the decision to use my kit lense (17-55mm) thinking it would give me enough range for the park scenery. What I didn't count on was the heat at 10am in the morning...it was scorching. Needless to say, I only stayed one hour and didn't get very far to explore more of the scenery available. My photos came out close on the lighting, but could have been better, but I love the richness of the greens. Below are three photos from the day, SOOC and after processing. The good news is that because I gave thought to my shots, the post processing only took literally 5 minutes to fix!
![]() |
| SOOC |
![]() |
| post processed, by adding some light, and changing exposure slightly. |
![]() |
| SOOC |
![]() |
| Post processing by lightening exposure a tad and dialing in some contrast. |
![]() |
| SOOC |
![]() |
| Post processing, by adding some light and dialing up the exposure. |
Unveiling SOOC,
Dee
Tuesday, July 17, 2012
Studio Lighting and Model
I'm still here and I'm still shooting and learning. As I said in a previous post, I've been focusing on learning to shoot portraits. My biggest challenge is I haven't created a model release form, so I haven't been posting many people portraits, but I'll work on that as well as try to remember to post other great things I'm learning.
This past weekend, I had the pleasure of taking a studio lighting workshop that was offered through my photography meetup group. The experience was amazing. I learned a little about studio lighting, I had the pleasure of working with a very very talented New York model and most of all I had a blast!! Below are a few shots from the workshop, and I'm pretty stoked about how the pictures came out.
Lesson Learned:
First lesson learned is I can't afford studio lighting at this time...way way out of my budge; but, there are studios and equipment available in your town for rent. So if you're looking for an opportunity to get started there are options. The other lessons I learned was how to aim for a glamour shot, how different angles of lighting in a studio affect the degree and tone of shadows, I learned about strobe lighting, light boxes and I can go on an on. If you ever have the opportunity to take a class or workshop to learn how to shoot in a studio, don't sleep on it...it opens up another world of possibilities to lighting, especially once it starts to get cold outside.
Unveiling in the studio,
Dee
This past weekend, I had the pleasure of taking a studio lighting workshop that was offered through my photography meetup group. The experience was amazing. I learned a little about studio lighting, I had the pleasure of working with a very very talented New York model and most of all I had a blast!! Below are a few shots from the workshop, and I'm pretty stoked about how the pictures came out.
Lesson Learned:
First lesson learned is I can't afford studio lighting at this time...way way out of my budge; but, there are studios and equipment available in your town for rent. So if you're looking for an opportunity to get started there are options. The other lessons I learned was how to aim for a glamour shot, how different angles of lighting in a studio affect the degree and tone of shadows, I learned about strobe lighting, light boxes and I can go on an on. If you ever have the opportunity to take a class or workshop to learn how to shoot in a studio, don't sleep on it...it opens up another world of possibilities to lighting, especially once it starts to get cold outside.
Unveiling in the studio,
Dee
Saturday, June 16, 2012
Industrial Sunset...
I was out with my son this week and caught the sun setting. The electrical posts caught my eye.
with a little post processing to bring out the colors in Photoshop Elements, I loved the outcome of something not normally so eye catching.
Lesson Learned:
It doesn't have to pose to capture your eye.
Unveiling the beautify in electrical things,
Dee
with a little post processing to bring out the colors in Photoshop Elements, I loved the outcome of something not normally so eye catching.
Lesson Learned:
It doesn't have to pose to capture your eye.
Unveiling the beautify in electrical things,
Dee
Saturday, June 2, 2012
Seeing Things Differently....
Well, I'm still plugging away at learning to take portraits of people, but decided to take a minute to look at nature from a differently perspective. I recently visited one of my favorite places to take sunset photos here in the area and play around with a new lens. While there I was able to capture some pretty neat plant photos aiming for a different perspective. It's amazing what can you capture just by tilting your camera slightly or looking up, instead of focusing straight ahead. I also had a few shots that werent so interesting until I played around with them in Photoshop Elements and added some filters to the finished product. Take a look:
Lesson Learned:
Take some chances when taking photos. Look and think differently when you're aiming your camera. A slight slant to your angle or looking up will give you a different perspective and might produce some dramatic photos. Also, by using some photo editing software, you may be able to save a boring shot and turn it into something a little more interesting by using some of the editing features that it has.
Unveiling Nature,
Dee
![]() |
| By tilting my lense slightly to the right, I got a close up of this grassy plant. Straight on would not have been as interesting. |
![]() |
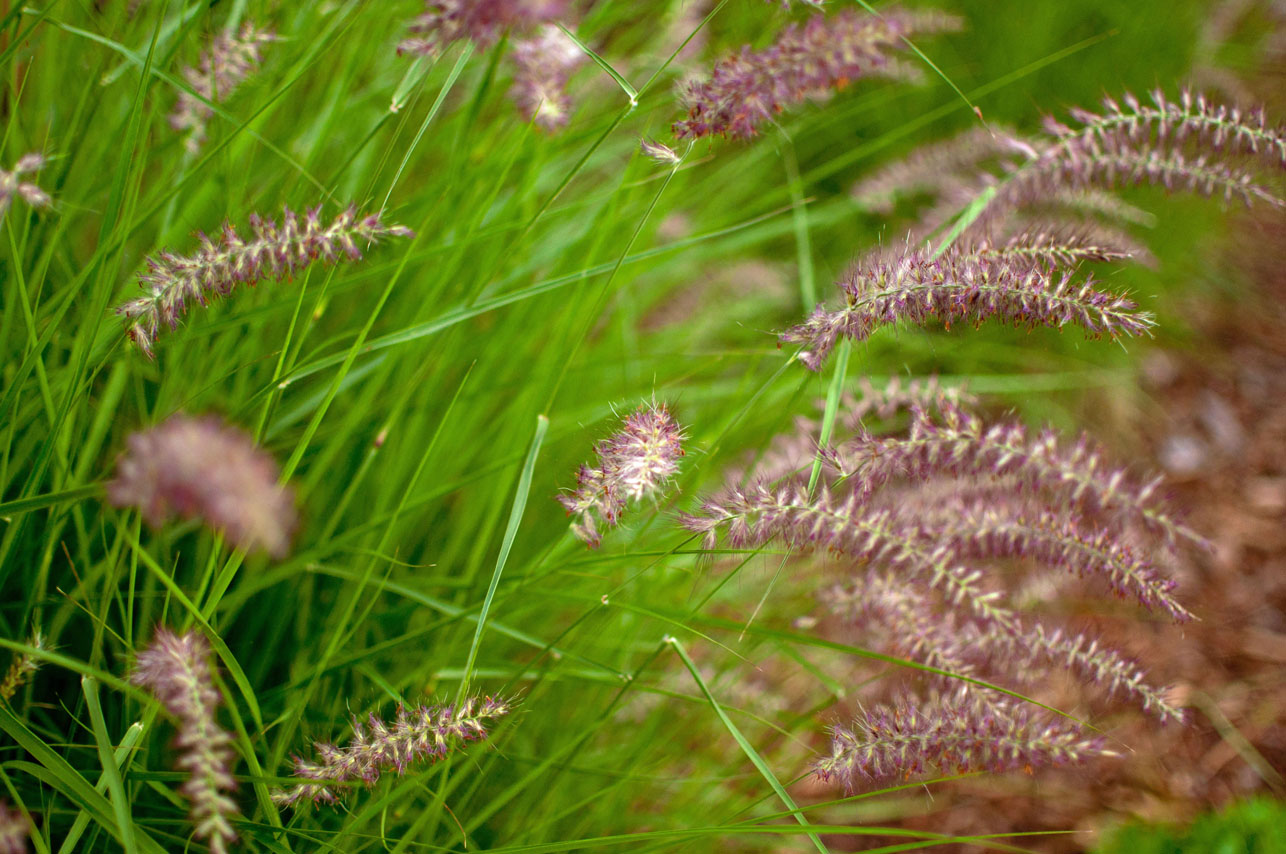
| Some more wild grass taken at a slight angle and close up |
![]() |
| While walking under some big trees I looked up and took a shot looking straight into the sky. Added a filer from photoshop which gave the tree much more depth. |
![]() |
| Alone these two rockers werent as interesting until I added some texture to the photo using PSE. |
Take some chances when taking photos. Look and think differently when you're aiming your camera. A slight slant to your angle or looking up will give you a different perspective and might produce some dramatic photos. Also, by using some photo editing software, you may be able to save a boring shot and turn it into something a little more interesting by using some of the editing features that it has.
Unveiling Nature,
Dee
Sunday, May 13, 2012
It's All About the Eyes.....
I may have mentioned a while back that I was going to be taking an online portrait class at the Perfect Picture School of Photography. I finished the first course, and I've started a second. I've learned so much about light that I find myself looking for it every where I go these days. The first course focused on taking portraits using natural light and was taught by Bobbi Lane. Unfortunately because most of my volunteer subjects for this course so far have been very expensive teens, I haven't posted any photos, just out of respect for their age. By expensive I mean, I've had to either pay or feed them to get them to cooperate. Needless to say I'm going to have to find some cheaper models!
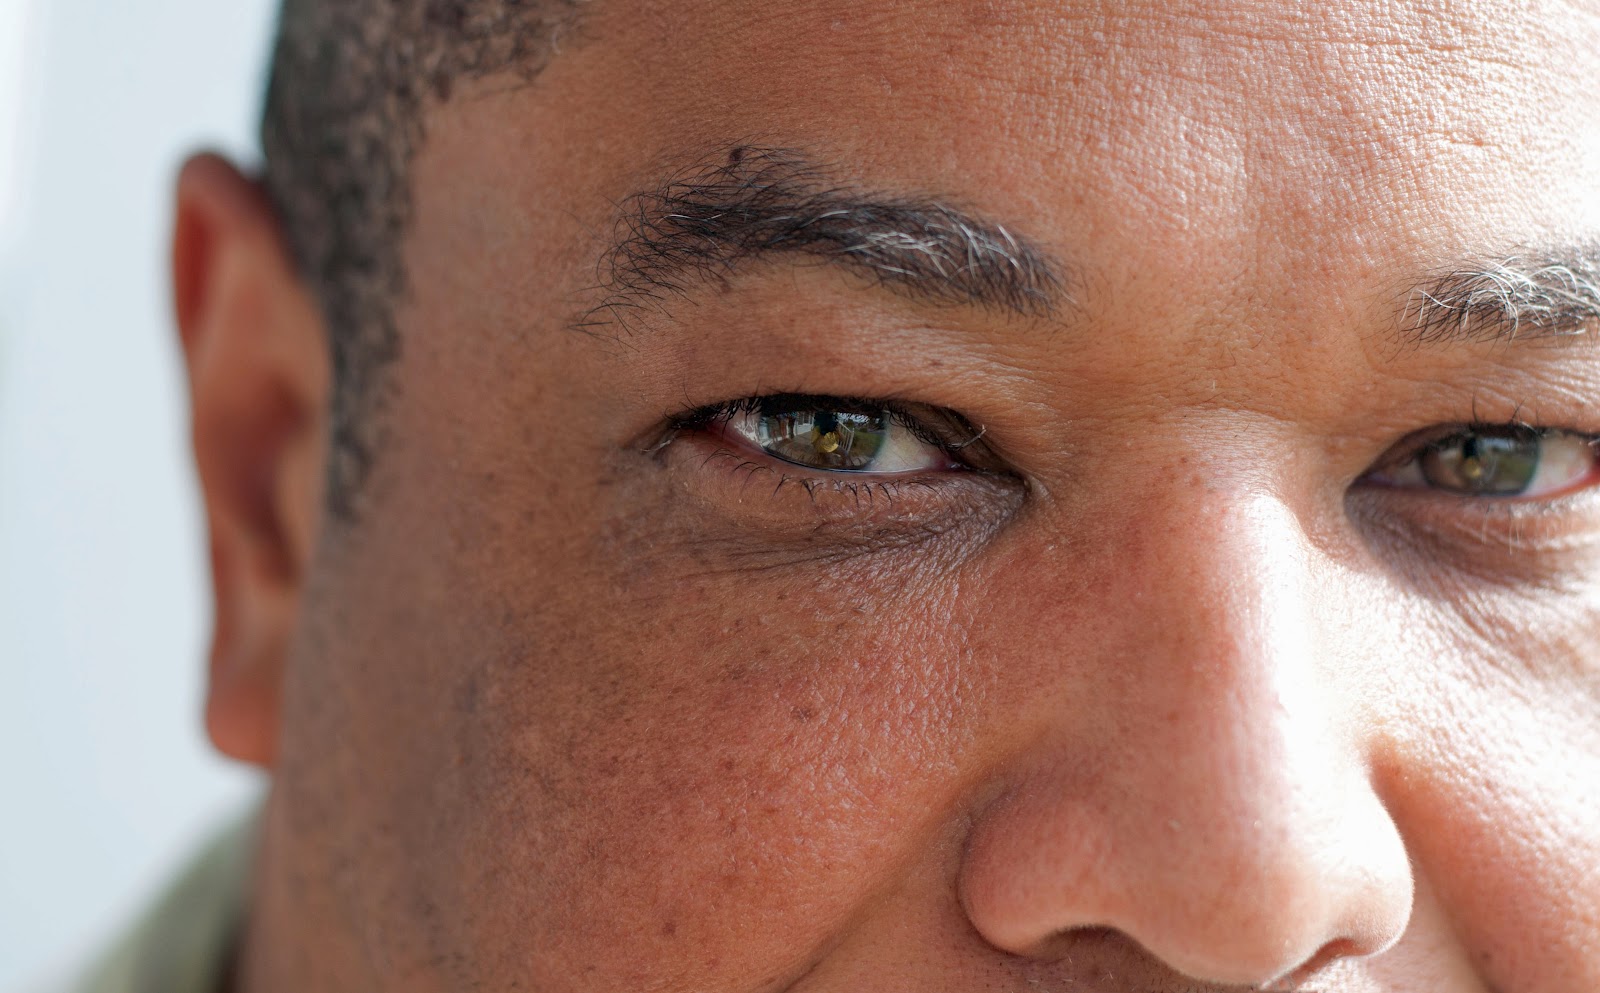
The second course just stared last Friday and this course is calle Eye to Eye and is taught by Scott Stulberg. The focus will be on seeing differently. Basically thinking outside the box and doing things you normally wouldn't do. Thought I'd share a few shots from this past weekend where my main goal was to do some close up of the eyes. I had each of my female subjects cover their faces with a scarf, only leaving their eyes open. They guys weren't too fond of the scarf, so I let them off the hook this time. I love how they came out and the definitely prove that a portrait doesn't always have to be about seeing the face, because in this assignment it was all about the eyes! If you look closely, you'll see me in a yellow shirt in the pupil of each of their eyes!
Lesson Learned:
I submitted one of these as an assignment and the feedback would apply to all of the shots. I need to always be aware of my light. In the above two male shots, I could have changed my composition a little and eliminated some of the bright sun that was coming down on their right side. Additionally, next time, I'll play around a little more with the cropping and watch for exactly where the photo is cut off (nose). And last but not least....it's not always a face that makes a great portrait and it's a good thing to think outside the box.
Unveiling Eyes,
Dee
The second course just stared last Friday and this course is calle Eye to Eye and is taught by Scott Stulberg. The focus will be on seeing differently. Basically thinking outside the box and doing things you normally wouldn't do. Thought I'd share a few shots from this past weekend where my main goal was to do some close up of the eyes. I had each of my female subjects cover their faces with a scarf, only leaving their eyes open. They guys weren't too fond of the scarf, so I let them off the hook this time. I love how they came out and the definitely prove that a portrait doesn't always have to be about seeing the face, because in this assignment it was all about the eyes! If you look closely, you'll see me in a yellow shirt in the pupil of each of their eyes!
Lesson Learned:
I submitted one of these as an assignment and the feedback would apply to all of the shots. I need to always be aware of my light. In the above two male shots, I could have changed my composition a little and eliminated some of the bright sun that was coming down on their right side. Additionally, next time, I'll play around a little more with the cropping and watch for exactly where the photo is cut off (nose). And last but not least....it's not always a face that makes a great portrait and it's a good thing to think outside the box.
Unveiling Eyes,
Dee
Sunday, April 22, 2012
Pre-set White Balance...Life Savor!
It rained all day today, and I'm dealing with some foot issues, so I took the opportunity to play around with my light box and some of my handcrafted jewelry. Prior to DSLR, all of my jewelry photos were taken with a Nikon 5400 point and shoot and luck!
Today, I decided to challenge myself and use some of the things I've learned on my journey. I decided to work with a bracelet that hasn't been sold as my challenge. During my early photo days, all I knew was Auto Mode, meaning I aimed and shot and the camera did all the work. Today, 99% of my photos are taken in some type of professional mode, so I'm left figuring out the settings that will make the best exposure.
One of the things that stood out immediately to me in this old photo is the yellow tint at the top of the image. Most likely it had something do with lighting, and the white background really isn't doing anything to expose the beautiful components in this piece (Kazuri and Hill Tribe Silver). After deciding to use a loose ceramic tile I had laying around, the first image looked like this...
Immediately, you can see that the tile does more to bring out the colors in the bracelet than the white paper did; however, the colors aren't very true for the braclet or the tile and the entire image has a yellow hue to it. Sure I could play around in photoshop and try to get the color correct, but my goal is shoot the image as best I can the first time, and have as little processing to do aftewards as possible. Typically I shoot with a WB of cloudy, for a warmer image, but the warm doesn't seem to be working with the jewelry....so I decided to switch to a WB Tungsten (light bulb) and I got this.....
If you're looking at your own images and thinking..."this color isn't right"....you may need to change your white balance; and, if the camara doesn't have an automatic setting that works for what your shooting, go test driving in manual mode with a pre-set...i think you'll like the ride.
Today, I decided to challenge myself and use some of the things I've learned on my journey. I decided to work with a bracelet that hasn't been sold as my challenge. During my early photo days, all I knew was Auto Mode, meaning I aimed and shot and the camera did all the work. Today, 99% of my photos are taken in some type of professional mode, so I'm left figuring out the settings that will make the best exposure.
One of the things that stood out immediately to me in this old photo is the yellow tint at the top of the image. Most likely it had something do with lighting, and the white background really isn't doing anything to expose the beautiful components in this piece (Kazuri and Hill Tribe Silver). After deciding to use a loose ceramic tile I had laying around, the first image looked like this...
![]() |
| (f/3, 1/60 sec, ISO 200, WB cloudy) |
![]() |
| (f/3, 1/60 sec, ISO 200 ,WB Tungsten) |
Eeeeeeekk is right! Defintely not the look I was going for nor expecting, since, I was using the light bulb setting for light bulb light. Tungsten light is a cooler light as you can see compared to cloudy, but I didn't want it that cool! Next, I thought I'd try my luck with Incandecent WB, not as blue, but definitely not natural looking and still a little scarey!
![]() |
| (f/3, 1/60 sec, ISO 200, WB Incandecent) |
But I wasn't out of arsenal yet! There were a few more camera settings I could have tried, but enough was enough...I was going to have to preset my own White Balance, by taking a true reading of the light within the light box. If you have a DSLR, I'm fairly certain your camera has this option. You can find it by referencing your own camera manual. By taking a true reading of the light from within the box using the preset option, I was able to create a manual White Balance that mirrored the actual light I had reflecting inside the box and low and behold I got this....
![]() |
| (f/3, 1/60 sec, ISO 200, WB-preset) |
Same bracelet, same light set up, slightly different composition but definitely a better exposure! The only thing that was still bothering me with this image, was that only the two bottom beads in front were clearly in focus. For this particular piece I was really trying to capture the entire bracelet as it WAS the focal point. With some adjustment to my apeture setting, taking it from f/3 (great depth of field) to f/20 (everything in focus), my exposure reading changed to 1/4 sec., then I filled my frame more with the bracelet, I was able to get the entire bracelet in focus, including the clasp using a tripod.
When photographing jewelry for online websites, it's not about the props, it's about capturing the gorgeous components and relating to your potential customers through your photos. I think this final image says buy me, buy me!!
![]() |
| (f/20, 1/4 sec, ISO 200, WB Preset) |
Lesson Learned:
I'm a long way from where I was one year ago.
Unveiling natural colors,
Dee
Subscribe to:
Posts (Atom)


blog.jpg)